Getting Started with Data Blaze
Accessing Data Blaze
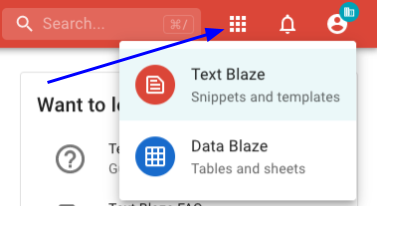
To access Data Blaze, in your Text Blaze dashboard click the Applications icon and then Data Blaze. You can return to your Text Blaze dashboard the same way.
Step 1 - Creating a space
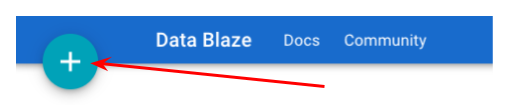
To create a new space, click on the big plus button at the top left.
There are three option to create a new space:
- Create an empty space - give the space a name and click
Create - Select from one of our templates - a great way to find new ways to organize your data
- Import an Airtable base - easily import your Airtable data
Step 2 - Creating and editing tables, columns and rows
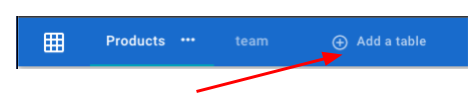
Add a table to your space by clicking the Add a table icon. You can create an empty table or import your data from various sources.
To add fields - properties of the items (or rows) - to the table:
- Click the plus icon
- Select a name and data type
- Click
Create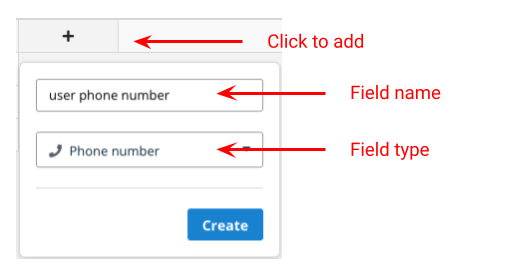
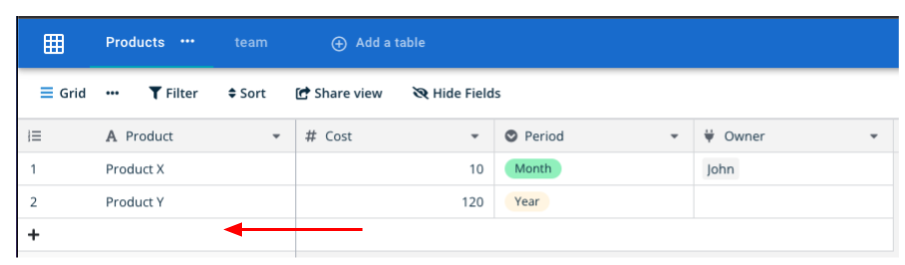
To add a row (an item) click on the empty row at the bottom of the table and start populating the cells in that row.
Step 3 - Working with views - filtering and sorting your table
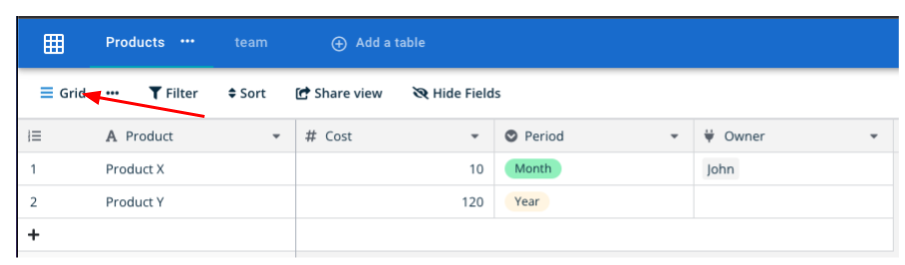
Add and switch views: New empty tables are created with a default grid view called “Grid”. You can switch between views or add new views by clicking on the view name.
To add a new view select the view type - Grid, Gallery or Form (see more about forms below)

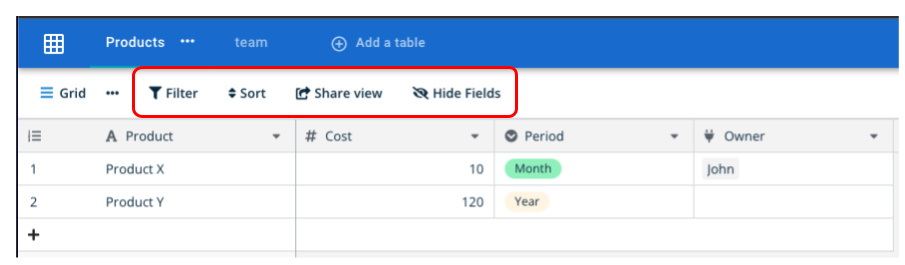
Edit view: You can change the way the data is presented by adding or removing filters, sorting the data or hiding (and unhiding) fields. These changes will only affect the current view
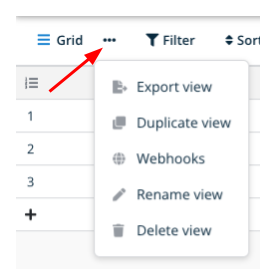
You can rename, duplicate or delete the view as well as export the data in the current view by clicking the three dots next to the view.
Important: a view is a way to look at the data. Changes (add/ edit / delete) to the data affect all views.
Watch this video to learn more about working with views:
Step 4 - Sharing a space
Sharing a space with others allows them to view and/or edit your data.
To share a space:
- Click on the Share space button.
- Add people using their email address.
- Select a role.

Advanced topics
Linking tables
You may want to link tables. For example, let’s assume that you have a table of items and a table of team members and you would like to assign to each item (row in the first table) a team member (row in the second table) as an owner.
To link tables (in the same space):
Add a
Link to Tablefield type in the first table.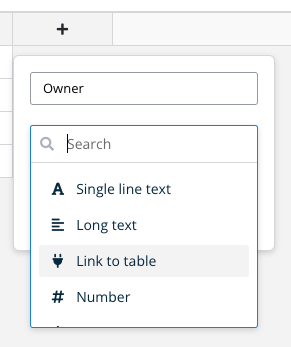
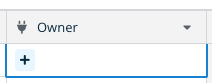
Click the plus button inside the cell to link this row to a row in the other table. You can link a row to multiple rows in the other table by clicking on the plus icon again.
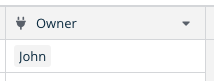
The cell will now show the primary (first) field value of the linked row.
If you’d like to show other fields from the linked table, create a new
Lookupfiled and select the linked field (the one created in the previous step) and the field from the second table you’d like to show (look up) here.
Creating a form
A form allows you to collect data into your table from external users without having to give them access to your data (space). Every time a user submits a form, it will add a new row to the table.
To create a form create a new Form view and name it. Then add the fields you want users to fill (you can also Add All). You can then change the appearance of the form by adding a cover image, a logo and by editing the form description and field descriptions.
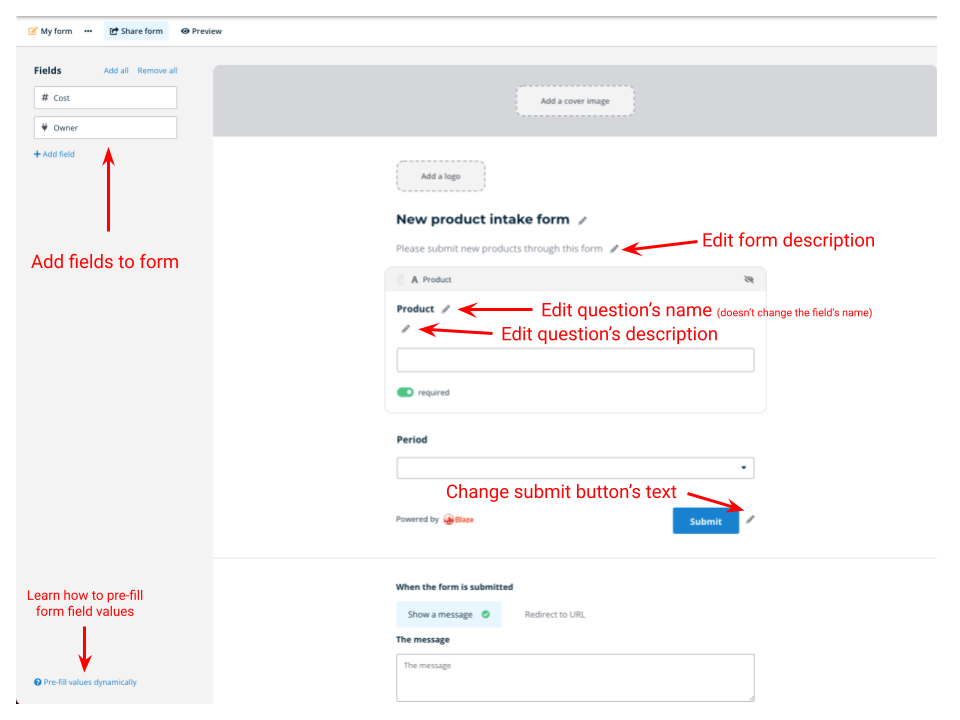
Preview the form by clicking on the Preview button and once you’re ready click Share form to create a shareable link.
You can continue making changes to the form after sharing it.
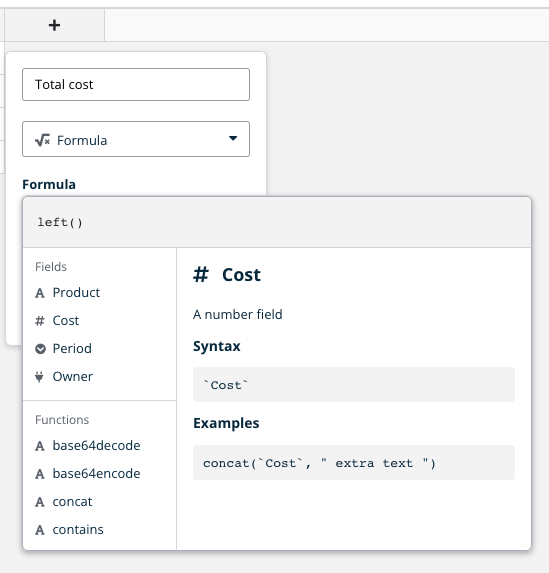
Formula fields
Formula fields allow you to dynamically calculate the value of a column based on a formula that can take other fields in the same row as variables.
To add a formula, create a Formula field and use the formula builder and built-in functions to construct the formula.
Note on automation with an API and Webhooks
You can programmatically access your space data using an API.
To generate an API token:
- In your Data Blaze dashboard, hover over the space
- Click the three dots at the top right.
- Click
API tokens... - Click
Create token
You can also receive real-time updates on changes to your tables using Webhooks.
Create a new Webhook through the view editing menu.