Zapier
Overview
Zapier is a tool that helps you automate tasks by connecting different web applications and services to Data Blaze. For example, you can send an email when a row is inserted into your table, or even notify your colleagues in a Slack channel.
By integrating Data Blaze with Zapier, you can:
- Automate tasks and workflows, freeing up time for more important things
- Connect our service with other apps and services you use, creating a seamless experience
- Increase productivity and efficiency by automating repetitive tasks
Zaps
A Zap is an integration workflow that connects your external apps to Data Blaze or any other third-party apps and automates repetitive tasks. Each Zap consists of:
- A trigger: an event that starts the Zap, such as inserting a row in a Data Blaze table, or receiving an email from an external app.
- One or more actions: which are the events that the Zap can perform after it’s triggered, such as updating a row in a table, or sending an email from an external app.
Getting started
In this guide, we'll create a Zap that sends an email to a specific address once a row is added to a Data Blaze table.
Creating a Zap
- Login to your Zapier account.
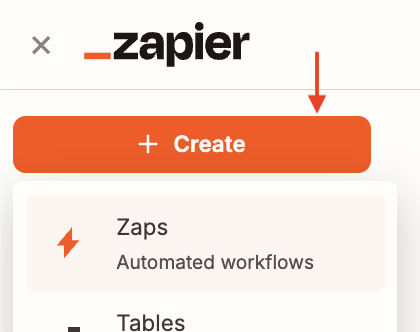
- From your account home, click the "+ Create" button on the top left side, then select "Zaps" from the dropdown menu.
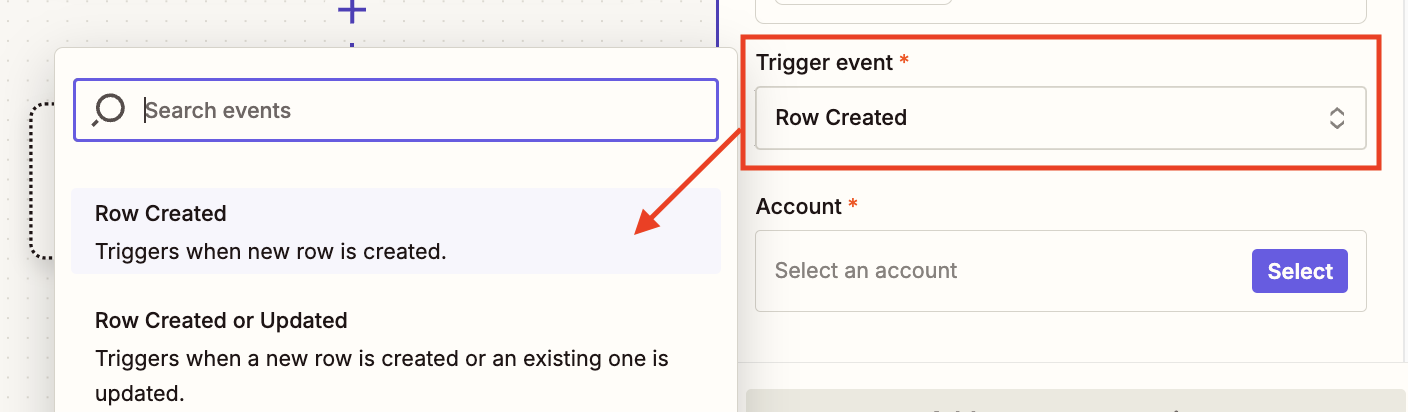
- Click the trigger button, and search for the "Data Blaze" integration.

- From the "Trigger event" dropdown, select the "Row created" item.
Now we need to connect this Zap to our Data Blaze space, as shown in the next section.
Account configuration
To authenticate your Zap with your space, you need to create an API token and connect it to your Data Blaze account.
Creating an API token
In order for Zapier to access your space, you need to setup a token. Please refer to the creating an API token section to learn how to create an API token.
Connecting the Zap to your space
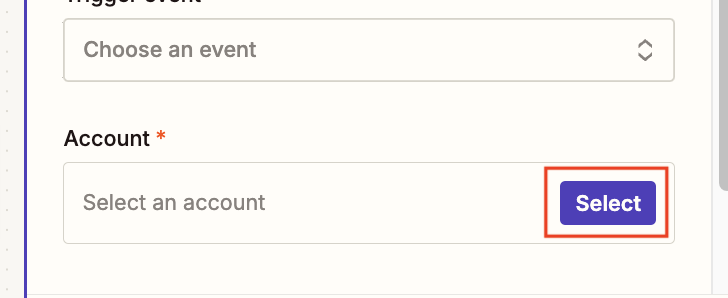
From the setup section on the right side, under the "Account" section, click the "Select" button.
Click the "Connect a new account" button.
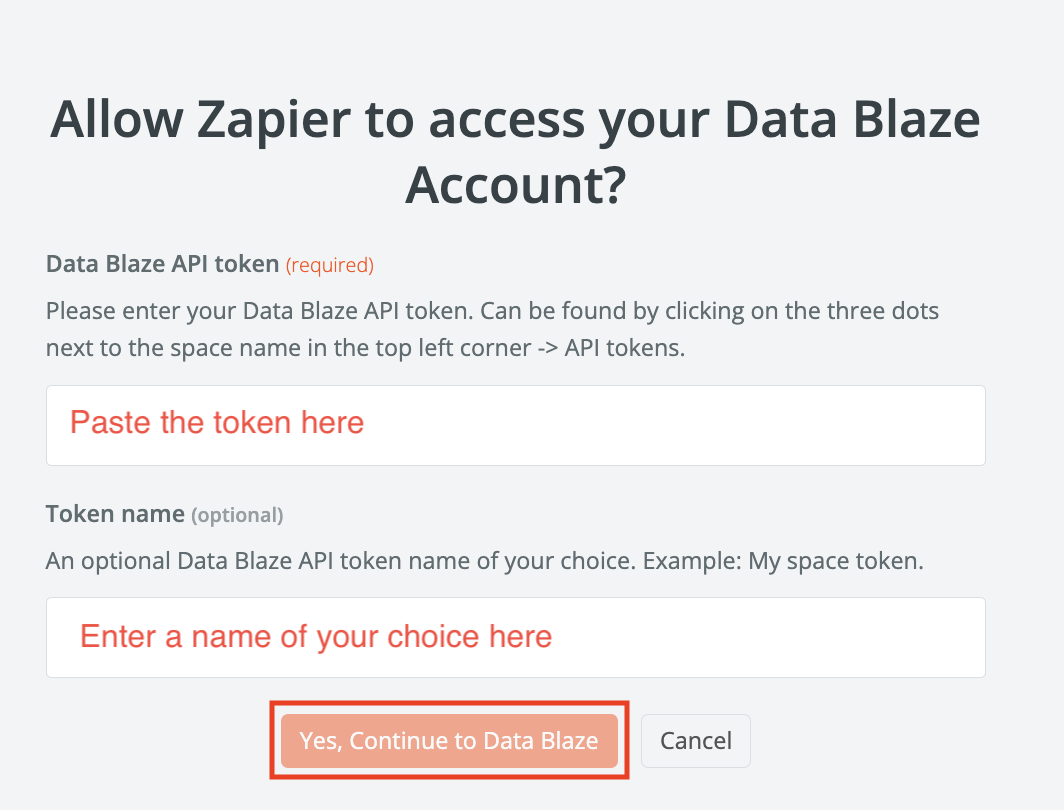
Paste the token into the "Data Blaze API token" input, enter any name of your choice, and then click the "Yes, Continue to Data Blaze" button.
Event configuration
- In the "Table ID" input, enter the ID of the table you want to connect to. You can find your table ID in the URL when viewing your table:
Example: https://data.blaze.today/.../table/TABLE_ID/
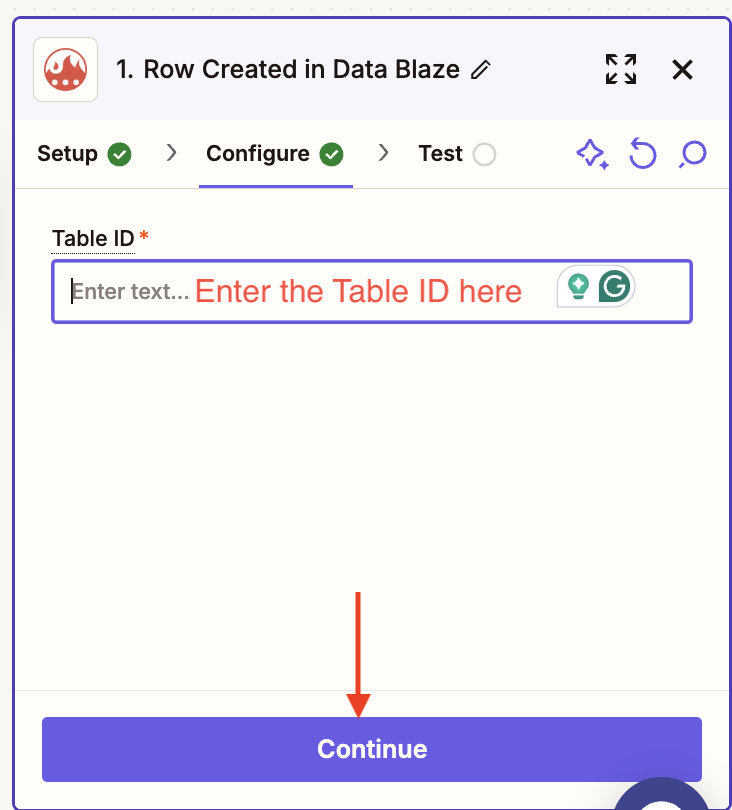
- Click the "Continue button".
- Add a test row to your selected table. This is required for the test trigger to work properly.
- Click the "Test trigger" button.
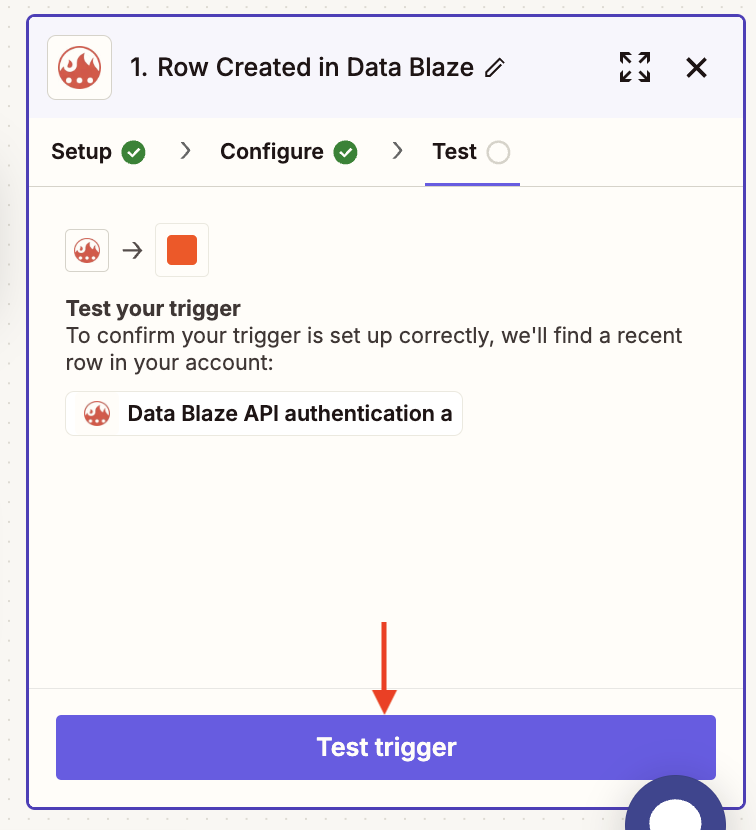
- The row you added should be picked in the next screen, click "Continue with selected record" button.

After creating the trigger, we need to create an action that will be performed after the row is created. In this example, we will send an email.
Send Email in Gmail action
- In the next dialog, search for and select the "Gmail" integration.
- In the "Action event" dropdown, select the "Send Email" option.
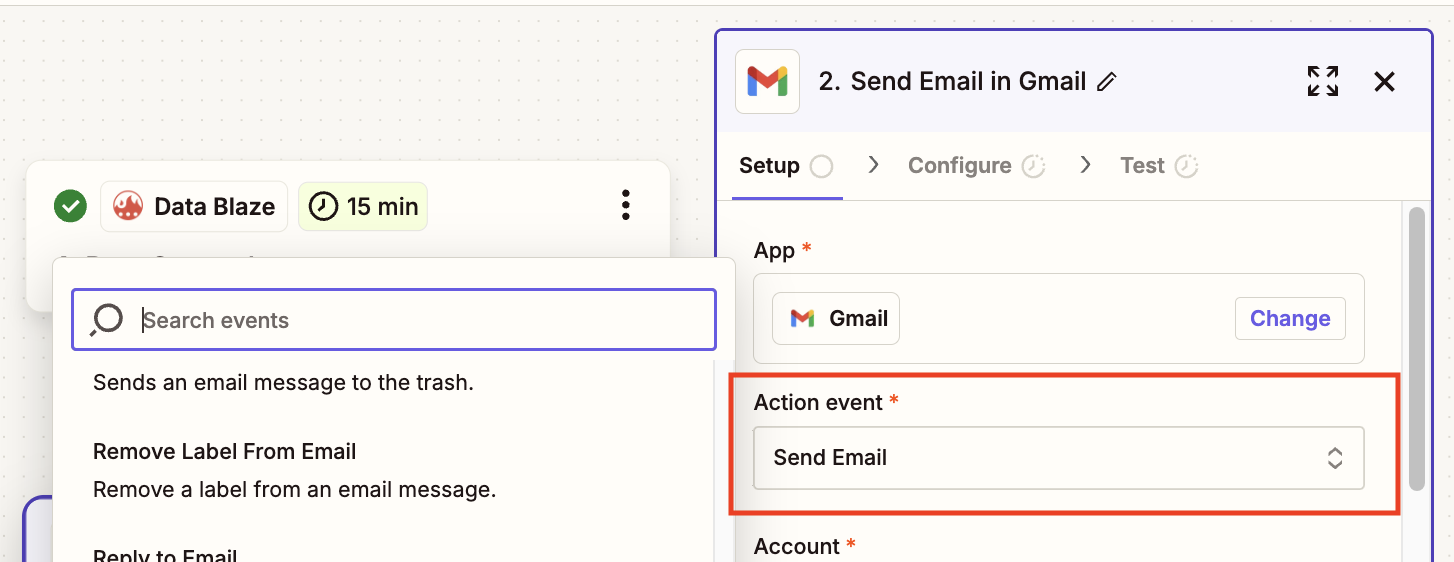
- In the account section, follow the instructions to connect to your Gmail account.
- Click the "Continue" button.
- In the "Configure" form, fill the fields as needed for To, From, etc.
- In the "Subject" field, click the "plus" icon.
- Select the fields from Data Blaze you need to include in your email's subject.

- Repeat the same step to fill the "Body" field and other fields as per your needs.
- Click the "Continue" button.
- Click the "Test step" button.
- Check your inbox for the received email.
- Click the "Publish" button.
Your Zap is now ready, now you may test your workflow by inserting rows to your table.
In the following sections, let's explore all the events and actions we support in our Zapier integration.
Trigger events
Trigger events are events that can trigger a Zap to run. In Data Blaze, we support the following events:
Row Created
Get notified when a new row is created in your space.
Parameters:
| Parameter | Description |
|---|---|
tableID | The ID of the table where the row was created |
Row Created or Updated
Get notified when a new row is created or an existing row is updated in your space.
Parameters:
| Parameter | Description |
|---|---|
tableID | The ID of the table where the row was created or updated |
Row Updated
Get notified when an existing row is updated in your space.
Parameters:
| Parameter | Description |
|---|---|
tableID | The ID of the table where the row was updated |
Action events
Zapier action events are operations that perform tasks or make changes in your connected apps when triggered by a Zap. In Data Blaze, we support the following actions:
Create Row
Create a new row in your space with the data you specify.
Parameters:
| Parameter | Description |
|---|---|
tableID | The ID of the table where the row will be created |
fields | An array of field objects, where each object contains the field name and value |
Delete Row
Delete an existing row from your space.
Parameters:
| Parameter | Description |
|---|---|
tableID | The ID of the table where the row is located |
rowID | The ID of the row to delete |
Update Row
Update an existing row in your space.
Parameters:
| Parameter | Description |
|---|---|
tableID | The ID of the table where the row is located |
rowID | The ID of the row to update |
fields | An array of field objects, where each object contains the field name and value |
Get Single Row
Retrieve a single row from your space based on its ID.
Parameters:
| Parameter | Description |
|---|---|
tableID | The ID of the table where the row is located |
rowID | The ID of the row to retrieve |
List Rows
Get a list of rows from your space, with optional filtering and pagination.
Parameters:
| Parameter | Description | Default |
|---|---|---|
tableID | The ID of the table where the rows are located | |
page | The page number to retrieve | 1 |
size | The number of rows to retrieve per page | 100 |
search | An optional search query to filter rows |