Working with Autopilot
Quick Overview Video
Text Blaze’s autopilot commands help you streamline workflows, quickly fill out forms, and transfer data across websites.
Text Blaze has three autopilot commands:
- {key} - Emulates a keypress in the web page.
- {click} - Simulates a click on any element on any open webpage.
- {wait} - Causes a delay for a specific period of time before continuing the snippet.
These commands help you streamline workflows, data transfer, and fill out repetitive forms.
Note that the {click} command only works in the browser, but {key} and {wait} work with our desktop apps.
Keep in mind that if the webpage changes, you will have to update the autopilot commands in your snippet (by rechoosing the selectors).
When using autopilot commands, the data that you’re using can come from a variety of sources. Read more on this below.
Moving between text fields and elements
{key} command

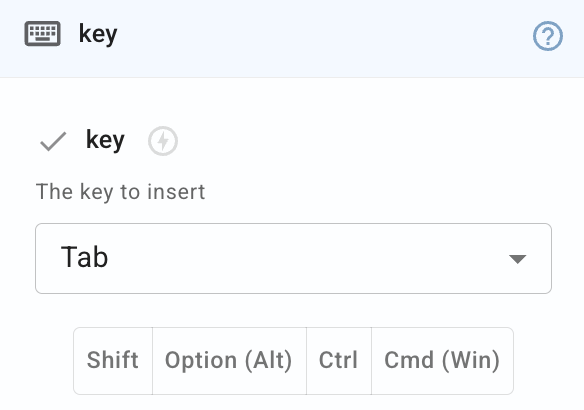
Text Blaze’s {key} command emulates a key press on the current webpage. This is useful because it allows you to move between text fields and elements on a webpage.
For example, you can use it to insert both an email's subject line and email contents. The snippet below uses the {key} command to add the subject line, then emulate the tab key to move to the email body and insert the contents of the email.
Triggering keyboard shortcuts for a specific website
Some sites have built-in keyboard shortcuts. You can also use the {key} command to emulate those site-specific shortcuts.
Keep in mind that Text Blaze is only emulating what would happen with the keypress, not actually pressing the keys. For this reason, you might encounter certain instances where the {key} command will not give you the desired results. For example, it cannot emulate operating system or browser commands.
In Gmail, for example, you can use the Ctrl + Shift + c keyboard shortcut to CC someone into your emails.
Clicking elements and taking action
{click} command

Text Blaze’s {click} command can be used to click the currently focused element on a webpage. It can also switch to another open tab and click an element there, which lets you automate actions across multiple tabs with a single snippet.
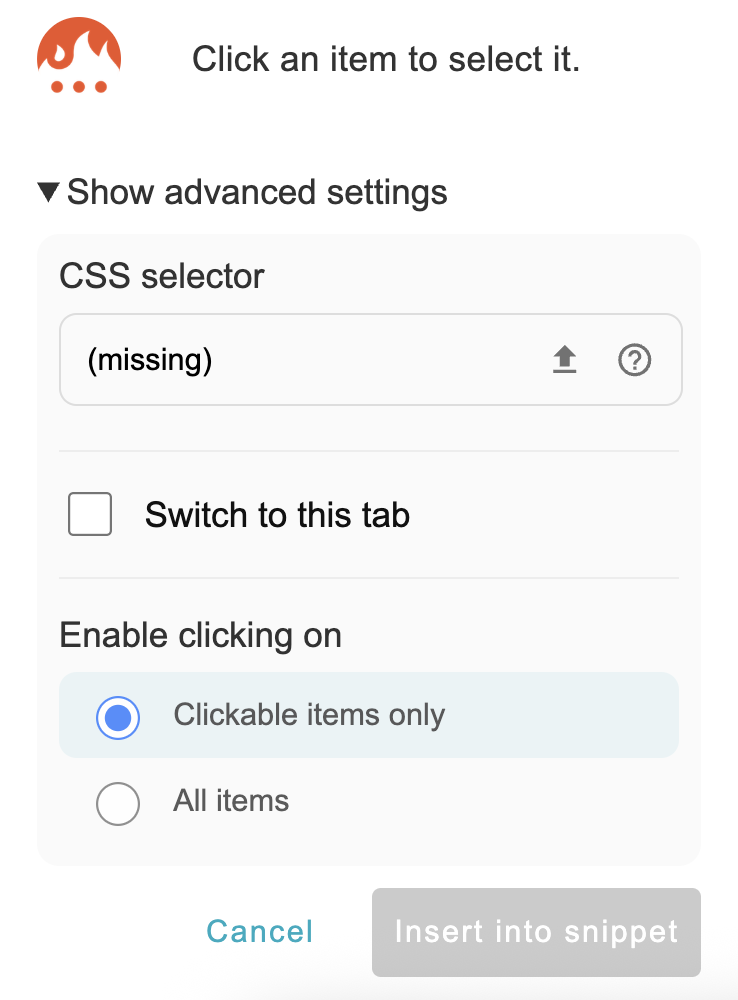
Once you add the {click} command to a snippet, you have to choose the element you want to be clicked with the snippet. Here’s how to do it:
- Add the click command to your snippet.
- Click the 'Select from website' button.
- Find the element you want, highlight it with your cursor, and click it (it will be highlighted in yellow).
- Click ‘Insert into snippet’.
Keep in mind that sometimes elements/buttons on websites change, so if your {click} selector isn’t working, the first thing you should do is reselect the element in the snippet.
For example, you can use the {click} command to click buttons and select from menus in repetitive forms.
The {click} command can click elements across open tabs and even switch tabs for you. When you use the command to select an element, you can toggle the "switch to this tab" setting under Advanced settings.
Here's how to do it:
Once you toggle that setting on and when you use the snippet, it will automatically switch tabs and click the element for you.
For example, in the video below, you can see a snippet being inserted in Gmail, then the snippet switches tabs to HubSpot and clicks a button to log the email in the CRM.
{wait} command

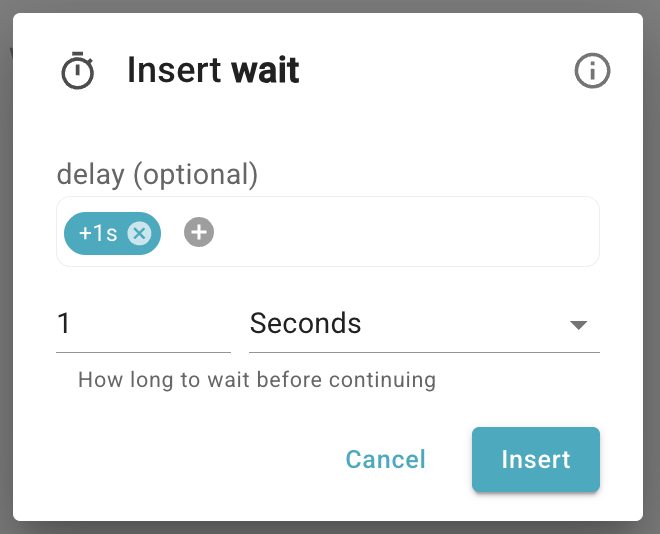
Sometimes it can be necessary to wait a couple of seconds before moving to the next action on a page (like letting a menu on the page update).
Text Blaze’s {wait} command helps you build in slight delays in your snippets that help you make sure certain parts of the page are fully loaded before the snippet continues running.
For example, if you're filling out a form with a drop-down menu and it takes a second for the options to load, {wait} helps you make sure it's loaded before a selection is made.
Data Sources
With Text Blaze, you can read data from any source and use it to fill out forms, write emails, and much more.
For example, you can use the following data sources with autopilot:
- Snippet content (ex: form fields).
- Data Blaze tables.
- {site} command data.
- AI Blaze summaries.
You can use the data from these sources in messages/emails, to fill out forms, or even write them back into Data Blaze or a site with an API.
Read more about data sources for workflow automation here.
Examples
For more examples, check out our complete workflow automation guide.